
How to measure a broken part so it can be 3D printed
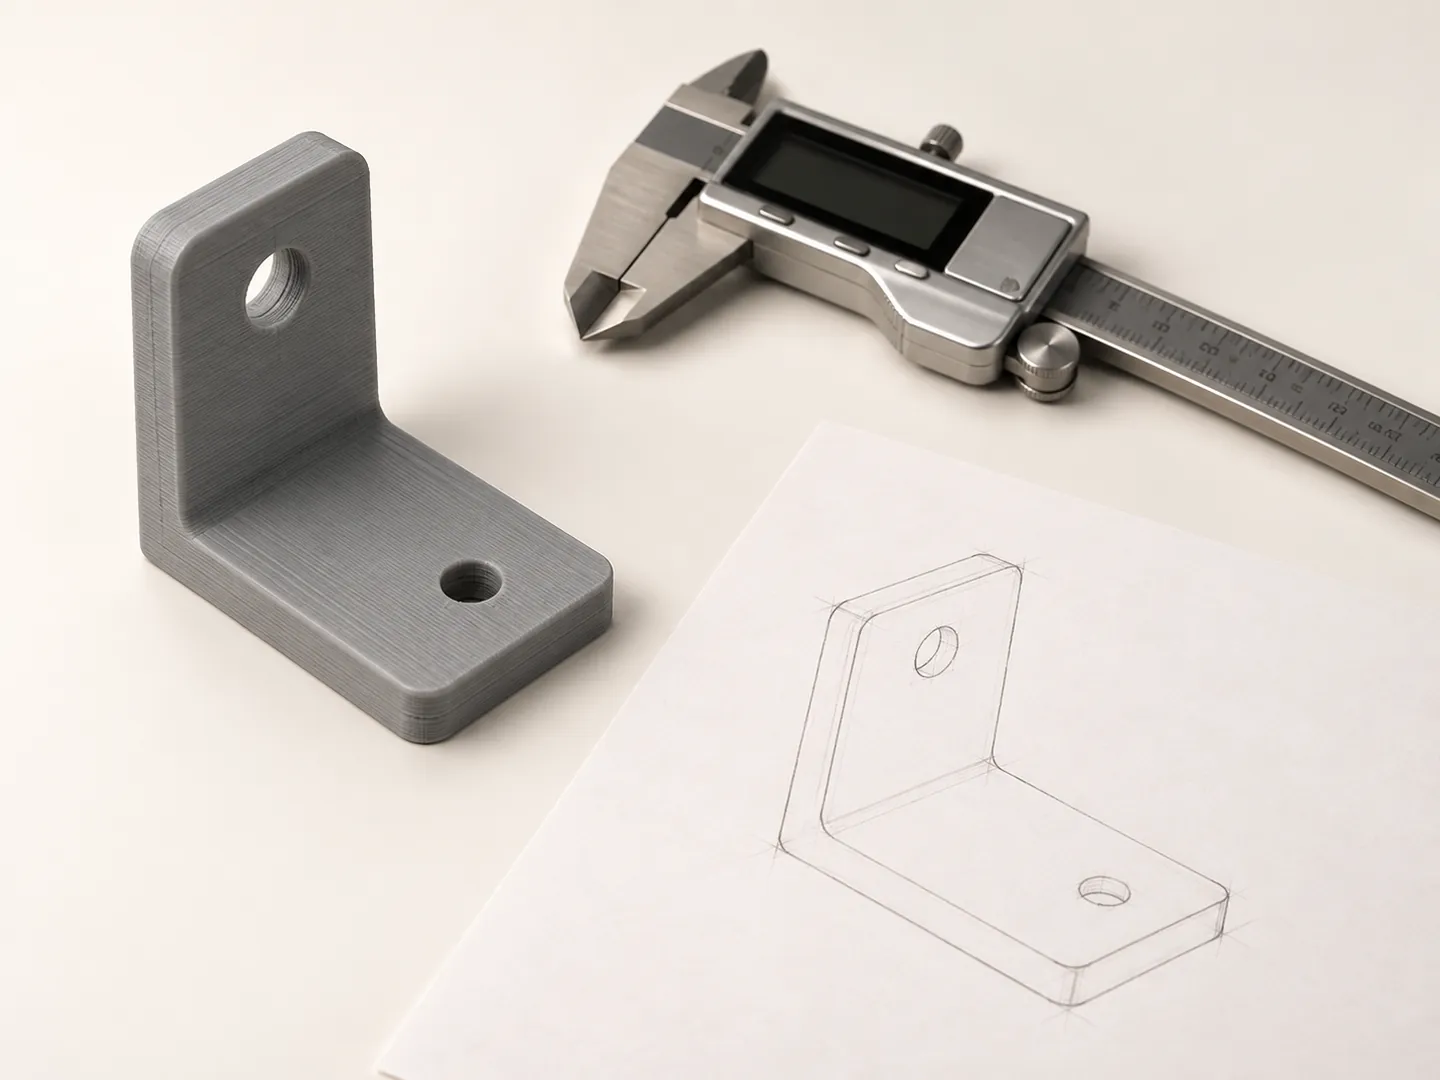
Short answer: you need calipers, about €10 at any hardware shop, and your phone. Measure first the places where the part meets other parts —the opening it goes into, the holes, the clips— and then the overall size. Take photos from the front, the side and the top with a ruler next to the part, and send us the measurements exactly as you read them, without adding clearance yourself.
What you need
- Digital or analogue calipers. They measure to 0.1 mm, which is what a fit needs. A ruler is fine for overall size, not for holes or clips.
- A phone with a camera.
- Pen and paper, or a photo of the part to write the measurements on.
The golden rule: fits first, size second
A part can have the perfect outside size and still not fit. The most common mistake we see in the workshop is measuring the part from the outside and forgetting the place it has to go into. For example, for a lid we get the outside diameter, but not the inside diameter of the seat or the depth of the rim: the model looks right, but the lid does not go on.
So measure in this order:
- The place the part goes into: diameter or size of the opening, depth of the seat, height of the rims.
- The distance between hole centres. Not the gap between their edges: measure outer edge to outer edge and subtract one diameter, or measure the gap and add one diameter.
- Wall thickness, especially on clips and tabs: it decides how much they flex.
- The depth of slots and holes. A photo from above does not show it: use the depth rod of the calipers.
- The size of the latch hook: the small lip that holds the part in place. It is usually what breaks and the hardest thing to guess.
- Finally, the overall size: length, width and height.
Do not add clearance yourself. Send us the real measurements, without “I’ll add half a millimetre just in case”. The assembly clearance depends on the material and the type of fit, and we set it when designing. If you add some and then we add some, the part will be loose.
How to take the photos
- Three views: front, side and top, with the phone parallel to the part (not at an angle).
- A ruler or the calipers in the photo, right next to the part, for scale.
- A plain, light background, good light, no harsh shadows.
- The broken area close up: it tells us where it failed and where to reinforce.
- The place where the part goes: the opening, the seat or the part it fits with.
Common mistakes
| Mistake | What happens | How to avoid it |
|---|---|---|
| Measuring only the outside of the part | It looks right but does not fit | Measure the opening or seat first |
| Measuring the gap between holes | The holes end up one diameter off | Measure between centres |
| Not measuring a clip’s thickness | Too stiff and breaks, or too soft and does not hold | Calipers at the base of the clip |
| Not measuring depths | Slots and seats come out too shallow | Depth rod of the calipers |
| Adding clearance yourself | The part ends up loose | Send real measurements; we add the clearance |
| Measuring only with a ruler | 0.5–1 mm errors on holes and clips | Calipers for anything small |
| Photos at an angle | Perspective distorts proportions | Phone parallel to the part |
What if the part is too complex?
If it has many curves or fits, the quickest option is to send us the part (or bring it to Avilés by appointment): we measure it and return it with the new one. For very organic shapes, such as handles or curved enclosures, we are preparing a 3D scanning service, which we already offered at our previous workshop; it will come to Hilonorte in the coming months.
Send your measurements
Send the photos and measurements on WhatsApp and we will reply with price and lead time in writing. If you already have a 3D file, upload it straight to the calculator. More about the process in how to get a spare part that is no longer made and on custom CAD design.